
TL;DR:
- Inspecting a rental scooter thoroughly before riding helps prevent safety issues and fraudulent damage claims. Document the scooter's condition with videos, photos, and notes, including narration and staff presence, for dispute protection. Always perform a test ride to identify problems that static checks might miss, ensuring safety and accountability.
A rental scooter inspection is a structured pre-ride check that verifies tire condition, brake function, lights, frame integrity, and fuel level before you accept the vehicle. Skipping this step puts you at legal and physical risk. If the shop later claims you caused a scratch that was there before you arrived, your only defense is documented proof. This guide walks you through every step of a proper scooter rental safety check, from what to bring to how to film evidence that holds up in a dispute.
How to inspect a rental scooter: what you need first
Before you touch the scooter, gather two things: your smartphone and a clear mental checklist. You do not need specialized tools. A phone with a decent camera, good lighting, and two to three minutes of focused attention covers the full inspection.
Here is what to prepare before you start:
- Smartphone or camera capable of recording high-resolution video and clear still photos
- A checklist covering tires, brakes, lights, horn, mirrors, frame, fuel level, and odometer
- Good lighting — inspect in daylight or a well-lit area; shadows hide scratches and cracks
- Permission from staff to record the scooter and request a short test ride
- A copy of the rental contract so you can cross-reference damage clauses on the spot
Read the damage and liability section of the contract before you pick up the scooter. Rental contracts must note damage clauses explicitly; photos and videos alone are not enough without matching annotations on the contract diagram. Knowing what the shop considers "chargeable damage" tells you exactly what to photograph.
Pro Tip: Ask a staff member to stand near the scooter while you film. Their presence on camera establishes the handover context and makes the footage far harder to dispute.
Step-by-step physical inspection of the scooter
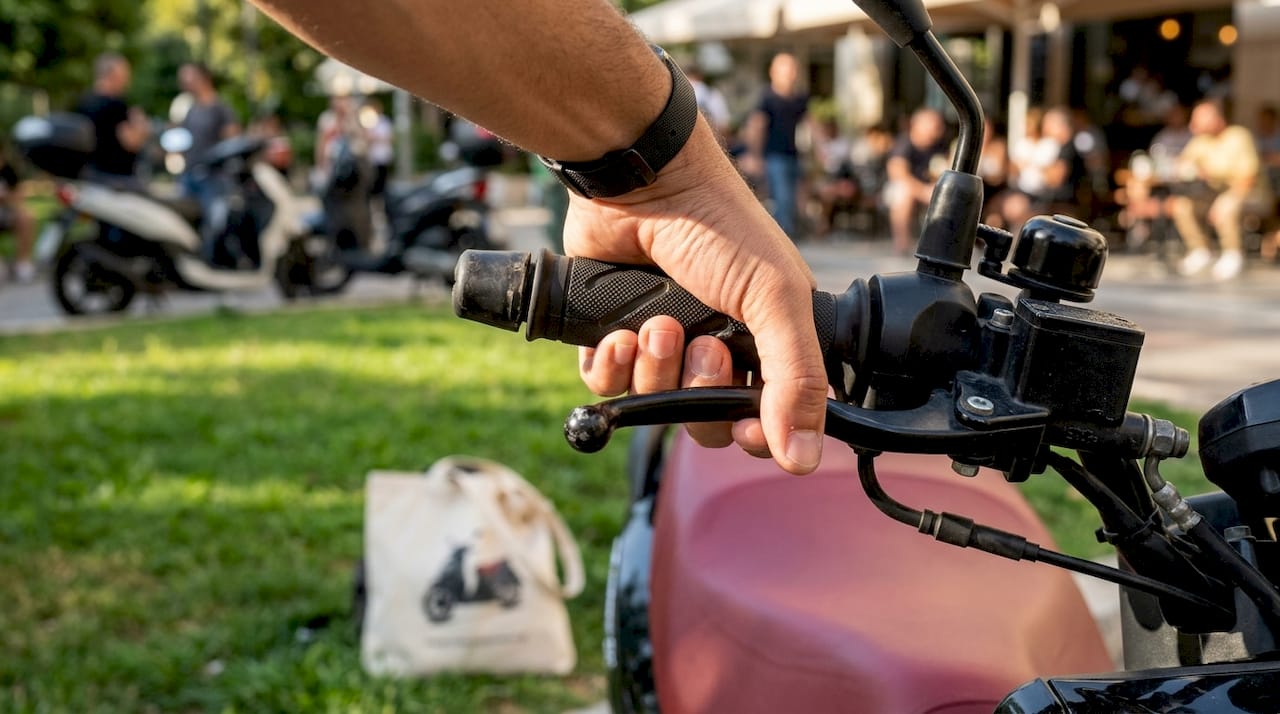
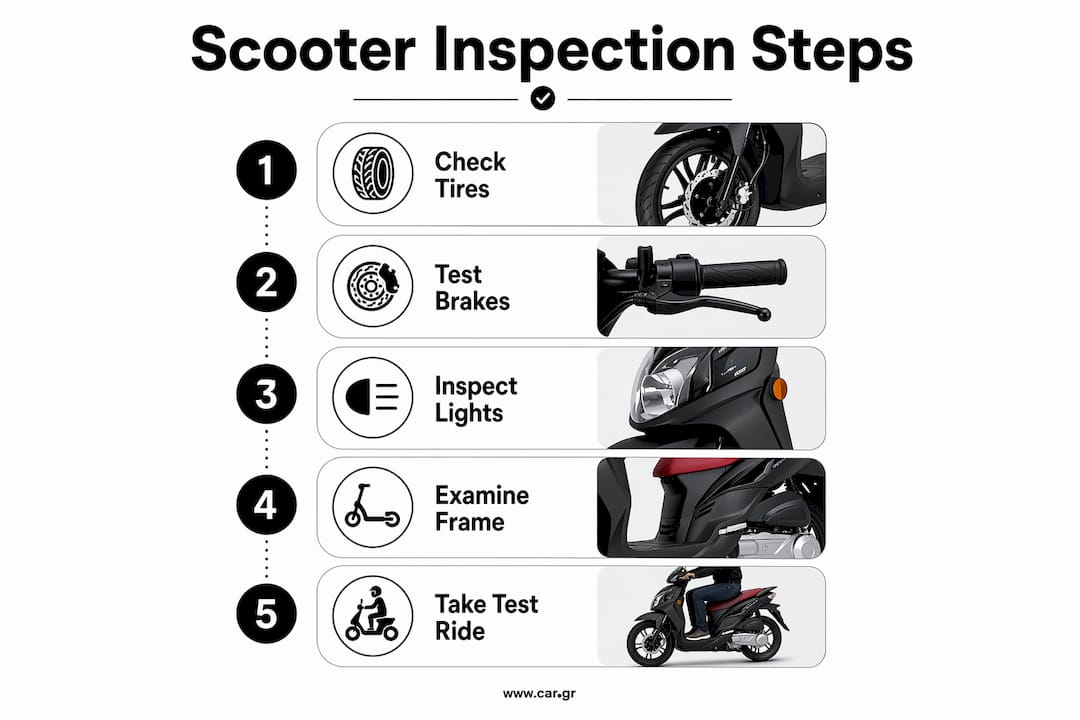
A full pre-ride inspection covers tires, brakes, lights, horn, and frame integrity in about two minutes, hitting roughly 80% of critical safety components. Work through the scooter in a fixed order so you never miss a section.
Tires
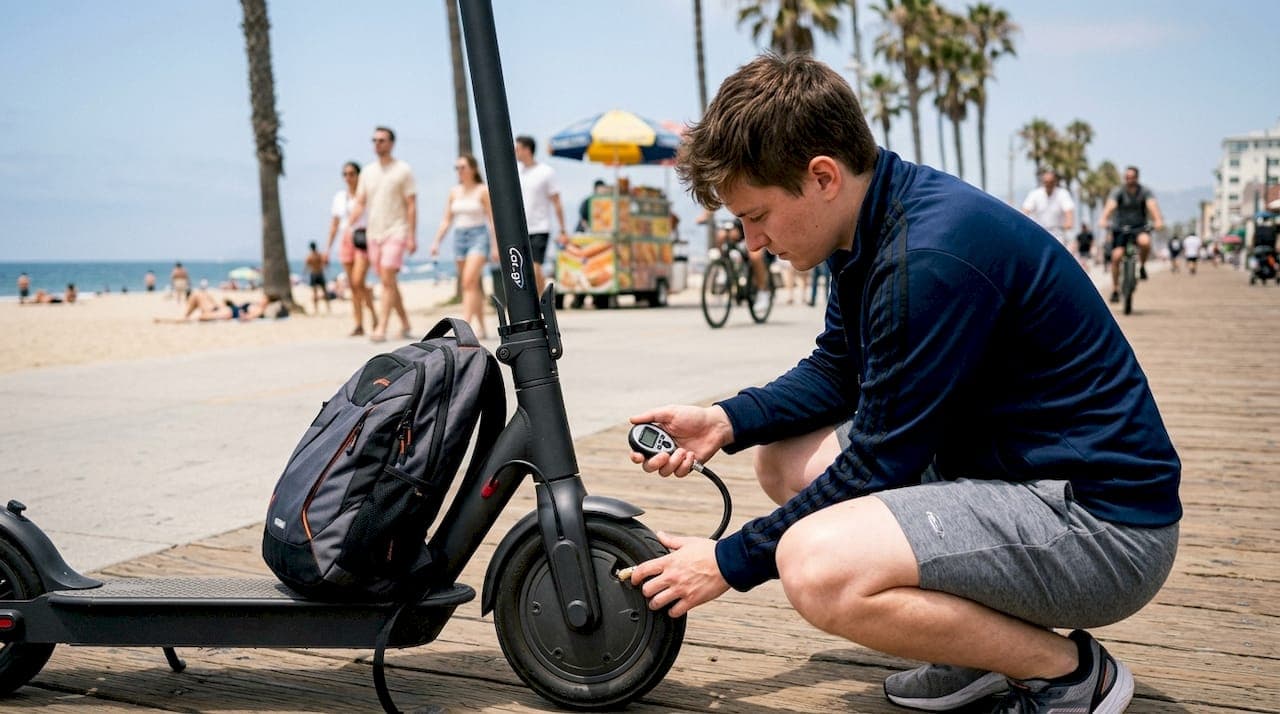
- Press your thumb firmly into each tire. Proper pressure sits between 40–55 PSI for most rental scooters. A soft tire handles poorly and increases blowout risk.
- Look at the tread. Tread depth must exceed 2mm. If you can see the wear indicators, the tire is unsafe.
- Run your hand along the sidewall. Look for cuts, cracks, or bulges. Any of these is a reason to request a different scooter.
Brakes
- Squeeze each brake lever. It should feel firm and stop well before reaching the handlebar. A spongy lever signals worn pads or air in the line.
- Walk the scooter forward and apply each brake separately. Brakes must stop the wheel properly from a slow roll. Brake pad thickness should exceed 2mm, and the scooter should stop within 3 meters from 20 km/h.
Lights, horn, and mirrors
- Turn on the ignition and test the headlight, taillight, and both turn signals. Burned-out indicators are a traffic violation in most countries.
- Press the horn. A non-functional horn is a safety issue in urban traffic.
- Check both mirrors. They must be secure, properly angled, and free of cracks. Loose mirrors vibrate into uselessness at speed.
Frame and panels
- Walk around the entire scooter and look at every panel. Note dents, cracks, and scratches. Pay special attention to the undercarriage and fork area.
- Check the steering by turning the handlebars lock to lock. Movement should be smooth with no grinding or stiffness.
Fuel and odometer
- Photograph the fuel gauge and odometer together with the license plate in a single frame. This "trio" anchors the rental to the specific vehicle and moment in time, preventing disputes about mileage or fuel charges at return.
| Component | What to check | Minimum standard |
|---|---|---|
| Tires | Pressure, tread depth, sidewall condition | 40–55 PSI, tread >2mm |
| Brakes | Lever firmness, stopping distance | Stop within 3m from 20 km/h |
| Brake pads | Visual thickness | >2mm |
| Lights and signals | Headlight, taillight, indicators | All functional |
| Mirrors | Security, angle, condition | Crack-free and stable |
| Frame | Cracks, dents, panel damage | No structural damage |
| Fuel and odometer | Gauge level, reading | Photographed with plate |
Pro Tip: Narrate your findings aloud while filming. Say the date, the shop name, and what you see. Narrated video with date and shop name outperforms silent footage as legal proof because it shows you were explicitly aware of the scooter's condition at handover.
How to document your inspection for dispute protection
Proof creation is the single most important habit a renter can build. Rigorous photo and video documentation is your best defense against fraudulent damage claims after the ride. The goal is to create a record so complete that no reasonable dispute can survive it.
Follow this documentation sequence:
- Wide shots first. Photograph all four sides of the scooter from about two meters away. These establish overall condition.
- Close-ups of every panel. Move in tight on each body panel, both tires, both mirrors, the exhaust, and the undercarriage. Capture anything that could later be called damage.
- The identification trio. Photograph the license plate, odometer reading, and fuel gauge together in one frame or in three consecutive shots. This links your evidence to the specific vehicle and the exact moment of pickup.
- Continuous 4K video walk-around. Record an unbroken video covering all panels, tires, wheels, mirrors, and exhaust with a staff member visible in the frame.
- Contract photos. Photograph every page of the signed contract, including the damage diagram. Make sure all noted defects are visible.
- Cloud backup immediately. Upload everything to Google Photos, iCloud, or any cloud service before you ride away. A stolen or damaged phone cannot erase cloud copies.
Contract damage diagrams must be filled out in detail. Unsigned or blank damage clauses leave you exposed to unfair charges even when your photo and video evidence is strong. If a staff member refuses to sign off on a defect you found, note it yourself on the diagram and photograph that page.
Pro Tip: If the shop refuses to let you record or document the scooter, walk away. Rental shops that refuse video recording are a clear red flag. Reputable providers expect renters to document condition fully and cooperate without hesitation.
Why a test ride matters before you accept the scooter
A static inspection catches visible problems. A test ride catches everything else. A short test ride reveals critical safety factors that no visual check can uncover, including steering pull, throttle lag, and brake fade under real load.
Ask the staff for permission to ride the scooter in a safe area, such as a parking lot or quiet side street, before you sign the final acceptance. Most reputable shops agree without hesitation. A shop that refuses a test ride is worth questioning.
During the test ride, pay attention to these four things:
- Steering. Does the scooter track straight, or does it pull to one side? A pull suggests misalignment or uneven tire pressure.
- Throttle. Does power build smoothly, or does it surge and cut out? Erratic throttle response points to fuel or electrical issues.
- Brakes. Apply each brake firmly at low speed. Both should feel consistent and stop the scooter without pulling sideways.
- Unusual sounds. Grinding, rattling, or knocking at low speed often signals worn bearings or loose components that are invisible during a static check.
If anything feels wrong during the test ride, return the scooter immediately and ask for a replacement. Do not accept a vehicle with a known mechanical problem on the assumption it will be fine. For travelers exploring areas like Thessaloniki or Halkidiki, where roads can include hills and coastal curves, a mechanically sound scooter is not optional. Checking must-have scooter features before you commit to a specific model also helps you know what "good" feels like before the test ride begins.
Pro Tip: Wear the helmet the shop provides during the test ride. Helmet use reduces death risk by 44% and brain injury risk by 52%. If the helmet feels loose, cracked, or smells strongly of mold, ask for a replacement before you ride.
Key Takeaways
A thorough rental scooter inspection covering physical checks, narrated video documentation, contract annotation, and a test ride is the only complete defense against both safety failures and fraudulent damage claims.
| Point | Details |
|---|---|
| Inspect before you sign | Check tires, brakes, lights, mirrors, and frame before accepting the scooter. |
| Use the identification trio | Photograph the license plate, odometer, and fuel gauge together at pickup. |
| Record narrated video | Film a continuous walk-around and narrate the date, shop name, and condition aloud. |
| Annotate the contract | Note every defect on the damage diagram and photograph the signed page. |
| Always test ride | A short ride reveals steering, throttle, and brake issues that static checks miss. |
What I have learned from watching renters skip the basics
Most renters I have seen get into trouble with rental deposits made the same mistake: they trusted the shop's word over their own eyes. They glanced at the scooter, signed the contract, and rode off. Three days later, they faced a charge for a scratch that was there before they arrived.
The single biggest shift in mindset is treating the inspection as proof creation, not just a safety check. When you film with narration and get a staff member on camera, you are not being paranoid. You are creating a record that protects both parties. I have found that shops with nothing to hide genuinely welcome this. Cooperative rental shops that welcome inspection and documentation signal reliability and a real commitment to renter protection.
The other mistake I see constantly is skipping the test ride because it feels awkward to ask. It is not awkward. It is standard practice. A scooter can look perfect and still have a throttle that sticks or a front brake that pulls hard left. You will not know until you ride it. For anyone heading out on a 125cc scooter rental for a full day in unfamiliar territory, that test ride is the most important two minutes of your rental experience.
Thorough preparation takes less than ten minutes total. That ten minutes can save you hundreds of dollars and a very unpleasant conversation at the return desk.
— KONSTANTINOS
Motorent makes your scooter rental safer from the start
Knowing how to inspect a rental scooter is only half the equation. The other half is renting from a provider that maintains its fleet properly and supports you through the process.

Motorent's fleet in Thessaloniki and Halkidiki consists of well-maintained scooters with clear pre-rental condition records. Every rental includes full insurance coverage and 24/7 customer support, so you are never left dealing with a problem alone. The booking process is straightforward online, and the team actively supports renters who want to document the handover properly. Start your scooter rental in Thessaloniki with a provider that treats inspection as a standard part of the service, not an inconvenience.
FAQ
What should I check first on a rental scooter?
Start with tires and brakes. Tire pressure should sit between 40–55 PSI with tread depth above 2mm, and brakes should stop the scooter within 3 meters from 20 km/h.
How do I protect myself from false damage charges?
Record a continuous narrated video walk-around before you accept the scooter, photograph the license plate, odometer, and fuel gauge together, and annotate all defects on the rental contract's damage diagram.
Can I refuse a rental scooter after inspection?
Yes. If the scooter has unsafe tires, non-functional brakes or lights, or the shop refuses to let you document the condition, you have every right to request a different vehicle or cancel the rental.
Is a test ride standard practice for scooter rentals?
A test ride is standard and expected at reputable rental shops. It reveals steering, throttle, and brake issues that a static inspection cannot detect.
What happens if the shop refuses to let me film the scooter?
A refusal to allow documentation is a red flag. Reputable providers cooperate fully with renters who want to record the scooter's condition at pickup.